Calendar Project Sheet 7
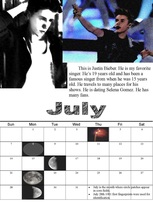
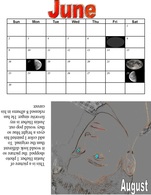
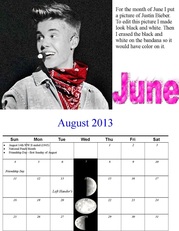
This is Sheet 7 of my calendar project. I used publisher and Adobe photo shop to make the calendar and edit the pictures and to edit the text of the heading ‘July’. I picked pictures of my favorite singer Justin Bieber. For the holiday Fourth of July I put an icon of fireworks in the box. I also put in the days that we were having a new moon, first quarter moon, third quarter moon and a full moon. At the bottom of the calendar I put two facts to fill in the empty space. The next picture is the back of sheet 7. The top part is June it has a edited title and the moon phases of New Moon, Full Moon, Third quarter and First quarter moons. The bottom of this page is the picture part of august it has a picture of Justin Bieber and a short paragraph On the back of Sheet 7 is the calendar part of June and the picture part of August. In June I have the moon phases and a customized title. In the picture part of August I have a picture of Justin Bieber that is photo shopped and a small paragraph.
Sheet 6
For Sheet 6 of the Calendar Project we had to use the clone tool in photo shop on one of the pictures. You would have to know how to use the clone tool before you start. First I found two pictures that I wanted to clone together. Next I had to take one picture and put it where I wanted it to go in the other picture. The top picture is the front side of sheet 6 that I used the clone tool on, it has the moon phases for the month, a few holidays and facts in the top corner. The bottom picture is the back of Sheet 6 that has facts, holidays and moon phases, with an edited picture of Justin Bieber. I was told to add more holidays since I didn't have any. Also that I should make the moon phases smaller because they are pixeled. I learned how to use the clone tool with this sheet. If I were to do this project again I would make the moons smaller and use the clone tool on the other side too.
Sheet 5
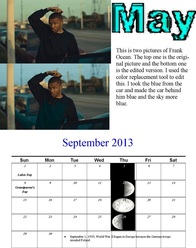
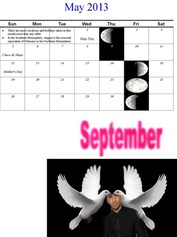
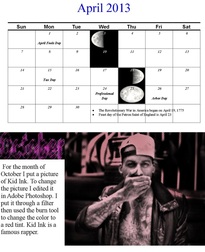
For Sheet 5 you had to use the color replacement tool. The first thing I did in this project was find a picture. Next I took the blue off of the car window and put it in the sky and on the car behind it. The top picture is the front side of the sheet, it has the original picture on top and the picture that I used the color replacement tool in on the bottom. I also have the moon phases and the holidays and a few facts on the actual calendar part. The bottom picture is the back of sheet 5. It has the moon phases, facts and a few holidays. It also has a photo shopped picture of Kid Ink. During this project I was told to make the moons smaller. During this project I learned how to use the color replacement tool. If I were to do it again I would make the moons smaller so they didn't look pixeled.
Sheet 4
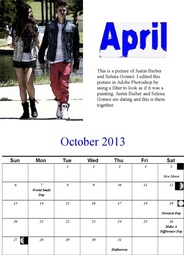
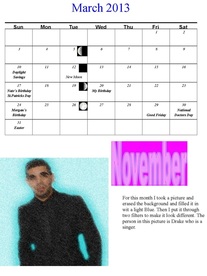
This is Sheet 4 of my Calendar project, in this sheet we were allowed to use whatever tools we wanted to. In this project you had to know how to use different tools in photo shop. First, I had to find two pictures for the front and the back and then edit them in photo shop. Next I had to find out when the moon phases were and put them into the calendar. Last I had to find holidays that were in October and March and put them in the calendar. The top picture is the first side of sheet 4 which has a picture of Justin Bieber and Selena Gomez and the bottom half is the month calendar for October. The bottom is the back of Sheet 4 which has the calendar for March and the picture part of November. If I were to do this project again I would edit the pictures better.
Sheet 3
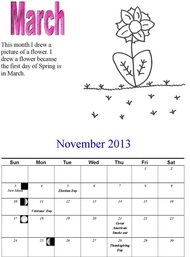
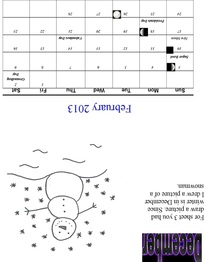
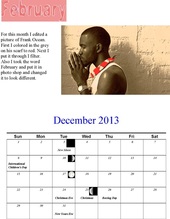
This is sheet 3 of my calendar project, for this sheet you had to draw your own pictures. Before doing this you needed to know how to scan a picture into the computer. First I drew to pictures one for the front and one for the back, then i scanned them into the computer. Next I put them onto the calendar, after that I put in the moon phases, holidays and wrote the paragraph for the side of the picture. The top picture is the front of sheet 3, the top of it is the picture of March and the bottom is the calendar part of November which has holidays and moon phases. The bottom picture of sheet 3 has the picture part of December and the calendar part of February. During this project I learned how to scan pictures into the computer. If I were to do this project again I would draw better pictures.
Sheet 2
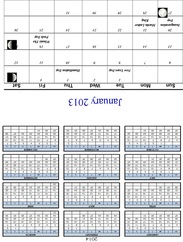
This is sheet two of the Calendar project, for this sheet you could do whatever you want. Before this project you had to know how to edit pictures using photo shop First I edited the picture, then I added the paragraph on the side of the picture then I added the holidays and moon phases to the calendar. After that I added a picture of the calendar for 2014. The top picture is the front of Sheet 2. The top is the picture part for February and the bottom is the calendar part for December with holidays and moon phases. The bottom is the back of Sheet 2. It has the calendar part for January and the calendar for next year which would be 2014. For feedback I was told to fill in the empty space, which I filled in with the calendar for 2014. If I were to do this project again I would edit the picture better.
Sheet 1
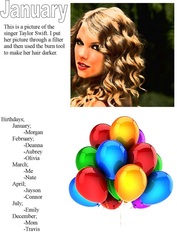
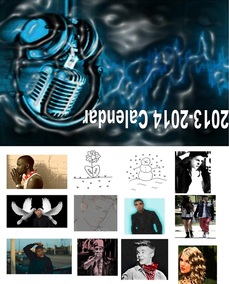
This is Sheet 1 of the calendar project. For this sheet you had to fill in the empty part make a cover page and put all the thumbnails on the back cover of the calendar. For this sheet you had to know how to edit pictures. First I edited the picture for January and put the paragraph, then I put birthdays and edited a picture of balloons and put it underneath that. Next I edited a picture of a microphone and put it on the cover. Last I put thumbnails of all the pictures in the calendar on the back page. The top picture is the front of sheet 1. The top is the picture part for January and the bottom is birthdays and a picture of balloons. The bottom picture is the back of sheet 1. The top of it is the cover page and the bottom is the back page with all the thumbnails. If I were to do this project again I would've found something else to put on the bottom besides birthdays.